Complete Guide to Exterior Car Detailing: Everything You Need to Know
Owning a vehicle that turns heads isn’t just about the model; it’s about maintaining its pristine condition. Exterior car detailing is a skillful process that enhances the true shine and appeal of your vehicle. At DG Detailz, we understand that achieving a show-stopping finish requires meticulous care. In this comprehensive guide, we’ll walk you through the step-by-step car detailing process to ensure your vehicle gets the royal treatment it deserves.
Step 1: Pre-Wash Inspection
Before diving into the auto detailing steps, it’s essential to start with a thorough inspection of your car. This pre-wash inspection will help you:
Give your car a thorough once-over:
Examine every inch of your vehicle for heavy dirt, noticeable scratches, or stubborn stains that might need special attention.
Identify paint imperfections:
Assess the paint condition to note any issues needing attention. A detailed inspection ensures that you address any problem areas before proceeding with the detailing and car paint correction process.
Step 2: Rinse and Pre-Wash
The next phase in car exterior detailing involves rinsing and pre-washing your vehicle:
Start by rinsing your car:
Begin the detailing process by thoroughly rinsing your car with water. This crucial step helps to loosen and remove surface dirt, grime, and debris, preparing the vehicle for a deeper clean.
Use a pH-neutral shampoo:
Follow up with a gentle pre-wash using a pH-neutral shampoo to lift contaminants without damaging the paint. This stage prepares your car for a more thorough cleaning by removing loose dirt and grime.
Step 3: Wheels and Tires
One of the critical car detailing steps is focusing on the wheels and tires:
Clean the wheels:
To achieve a thorough clean, use a specialized wheel cleaner designed to effectively tackle brake dust, grime, and stubborn dirt, ensuring a spotless and polished finish.
Restore the tires:
Opt for a tire cleaner to bring back that deep black shine. Wheels and tires often accumulate the most grime, so giving them special attention ensures a complete and professional finish.
Step 4: Hand Wash
The hand wash stage is a crucial part of automotive exterior detailing. Here’s how to do it correctly:
Use a microfiber wash mitt:
Utilize a premium car shampoo and a microfiber wash mitt to gently and effectively clean your vehicle’s exterior, ensuring a thorough, scratch-free finish every time.
Apply the two-bucket method:
This technique prevents dirt transfer and minimizes swirl marks on your vehicle’s paint. A thorough hand wash is essential to remove all contaminants and prepare the surface for further treatments.
Step 5: Clay Bar Treatment
Clay bar treatment is a game-changer in exterior detailing:
Remove embedded contaminants:
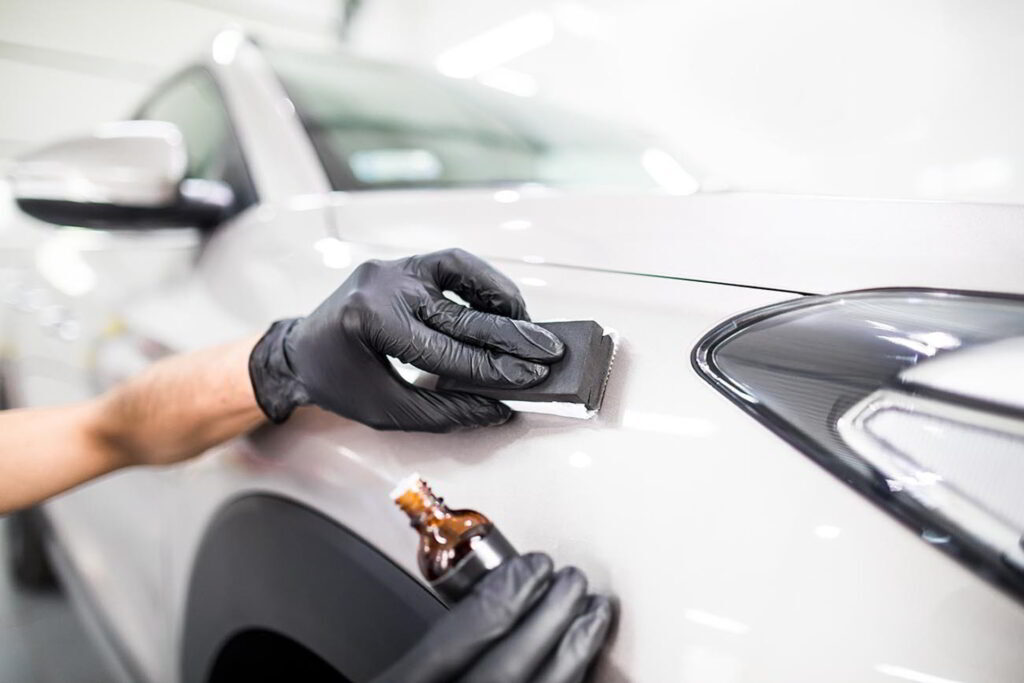
A clay bar, used with a detailer spray, will smooth out the paint by removing stubborn impurities.
Achieve a showroom finish:
Glide the clay bar across the surface to ensure the paint is as smooth as glass. This step enhances the paint’s texture and prepares it for polishing.
Step 6: Polishing
Enhance Your Car’s Paintwork with Professional Techniques for a Brilliant Shine and Smooth Finish, Removing Imperfections and Restoring Depth:
Eliminate minor imperfections:
Use a good polish to remove light scratches and restore your car's glossy finish.
Apply with a dual-action polisher:
For optimal results, a dual-action polisher ensures an even application and a high-quality finish. Polishing helps to rejuvenate the paint’s appearance, making it look new and vibrant.
Step 7: Protect with Wax or Sealant
To safeguard your hard work, apply a protective layer:
Choose between carnauba wax or synthetic sealant:
Both options offer excellent protection, but wax provides a deep, rich shine, while sealant offers durability and longevity.
Apply a high-quality product:
This layer shields the paint from environmental elements and enhances the overall shine. Protecting the paint is crucial for maintaining the vehicle’s appearance and longevity.
Step 8: Glass and Trim Detailing
Don’t overlook the glass and trim during your step-by-step car detailing. Proper care of these elements ensures a pristine finish and enhances the overall appearance of your vehicle.
Clean the windows:
Use a Dedicated Glass Cleaner for a Streak-Free Finish and Crystal Clear Visibility on Your Vehicle's Windows.
Revive trim pieces:
Apply a trim restorer to bring back their original shine and luster. Proper care of these components ensures a comprehensive detailing job that enhances every aspect of your vehicle.
Step 9: Final Touches
Before you wrap up, make sure to:
Inspect the entire exterior:
Check for Any Missed Spots, Residues, or Contaminants That May Require Additional Attention for a Complete and Immaculate Finish.
Buff the surfaces:
Use a microfiber towel to buff and achieve a flawless finish gently. Final touches are crucial for ensuring that every detail is perfect.
Step 10: Tire Dressing and Final Inspection
Complete your detailing with the final steps:
Apply tire dressing:
Applying tire dressing adds a glossy, deep black finish to your tires, significantly enhancing their appearance and giving your vehicle a polished, well-maintained look.
Perform a final inspection:
Check your vehicle under different lighting to confirm that the detailing is flawless. Savor the outcome and recognize the striking transformation of your vehicle.
Conclusion:
Congratulations, you've just perfected the craft of exterior car detailing! Your vehicle is now a shining example of rigorous care and attention. For professional-grade detailing products and expert tips, trust DG Detailz to elevate your car’s exterior to unparalleled brilliance.


.jpeg)


.jpg)